使用OpenCV,构建文档扫描仪
本文将使用 OpenCV,创建一个简单的文档扫描仪,就像常用的摄像头扫描仪应用程序一样。这个想法很简单,因为我们认为文档是四边形,我们获取边缘的位置并使用它来抓取文档本身,而忽略无用的图像背景。简单的管道:加载图像>>检测边缘和抓取位置>>使用图像上的位置导入包首先,我们导入处理图像可能需要的包
本文将使用 OpenCV,创建一个简单的文档扫描仪,就像常用的摄像头扫描仪应用程序一样。这个想法很简单,因为我们认为文档是四边形,我们获取边缘的位置并使用它来抓取文档本身,而忽略无用的图像背景。
简单的管道:加载图像>>检测边缘和抓取位置>>使用图像上的位置
导入包
首先,我们导入处理图像可能需要的包。threshold_local 函数对你来说可能看起来很新,但这段代码其实没有什么特别之处。该函数来自 scikit 图像包。
# import packages
from skimage.filters import threshold_local
import numpy as np
import cv2
import imutils
加载图像。
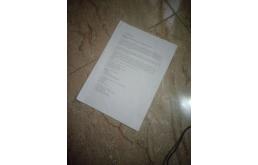
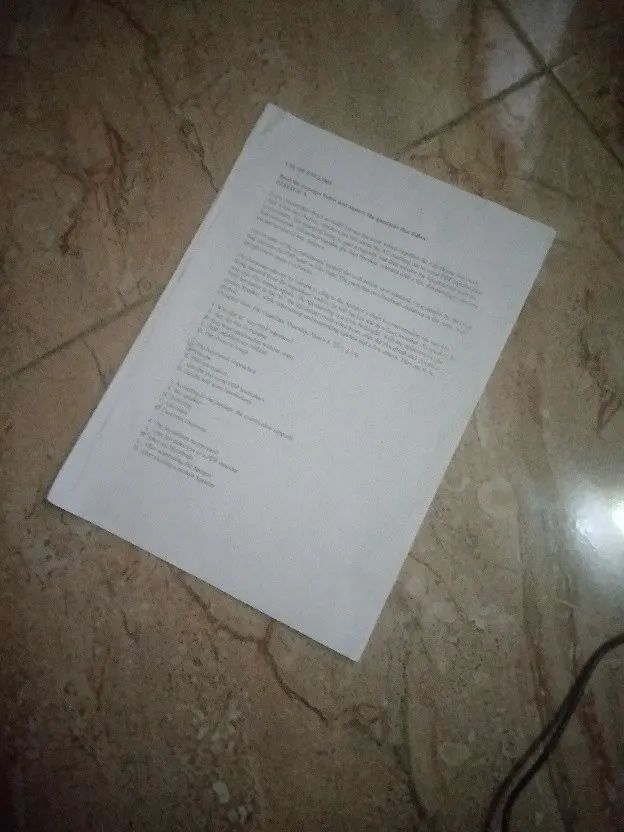
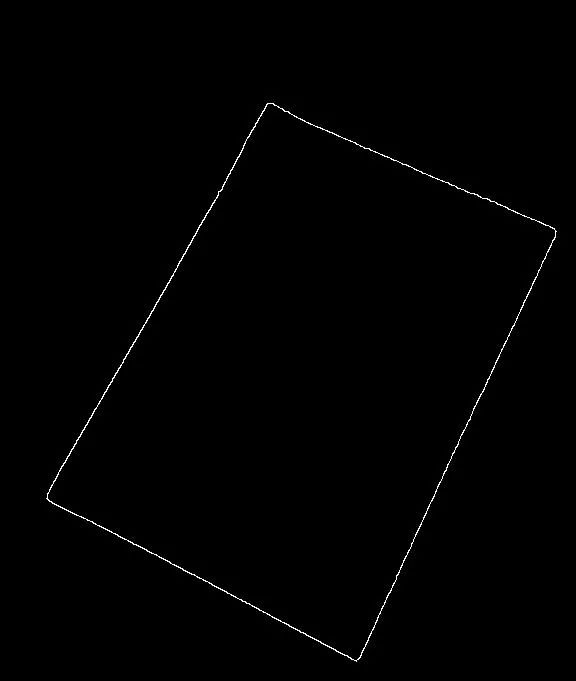
在这里,我们加载图像并保留一份副本。在这里,原始的副本对于获得清晰且未经篡改的图像扫描非常重要。为了处理图像,我调整到一个合理的比例,接下来我对图像进行灰度化以减少颜色并使其模糊(即有助于从图像背景中去除高频噪声),这些都是为了找到文件的边缘。
#load in the image
image = cv2.imread("images/questions.jpg")
orig = image.copy()
#Resize the image.
height = image.shape[0]
width = image.shape[1]
ratio = 0.2
width = int(ratio * width)
height = int(ratio * height)
image = cv2.resize(image,(width, height))
#find edges in the image.
gray_scaled = cv2.cvtColor(image, cv2.COLOR_BGR2GRAY)
#blurr the image
gray_scaled = cv2.GaussianBlur(gray_scaled,(5,5),0)
#Edge detection
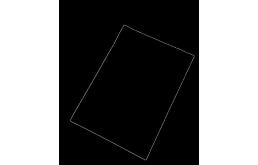
edged = cv2.Canny(gray_scaled,50, 200)
cv2.imshow("Image", image)
cv2.waitKey(0)
cv2.imshow("Edges detected", edged)
cv2.waitKey(0)
找到轮廓。
使用 cv2.findcontours() 找到轮廓。接下来,我们使用 imutils 库抓取轮廓,最后,我们根据最大轮廓区域,对抓取的轮廓进行排序。在这种情况下,我保留了最大的 5 个
# find contours in the edged image. keep only the largest contours.
contours = cv2.findContours(edged.copy(), cv2.RETR_LIST, cv2.CHAIN_APPROX_SIMPLE)
# grab contours
contours = imutils.grab_contours(contours)
# select contours based on size.
contours = sorted(contours, key=cv2.contourArea, reverse = True)[:5]
对轮廓进行进一步处理。
首先,我们遍历轮廓并找到周长,这是将周长近似为点所必需的。完成此操作后,我们最终搜索恰好具有 4 个点的轮廓,这很可能是近似矩形形状的纸张。完成后,我们获取这些点的坐标,然后将它们初始化为纸张轮廓。
# loop over the contours.
for contour in contours:
perimeter = cv2.arcLength(contour, True)
# approximate your contour
approximation = cv2.approxPolyDP(contour, 0.02*perimeter, True)
# if our contour has 4 points, then surely, it should be the paper.
if len(approximation) == 4:
paper_outline = approximation
break
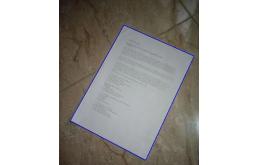
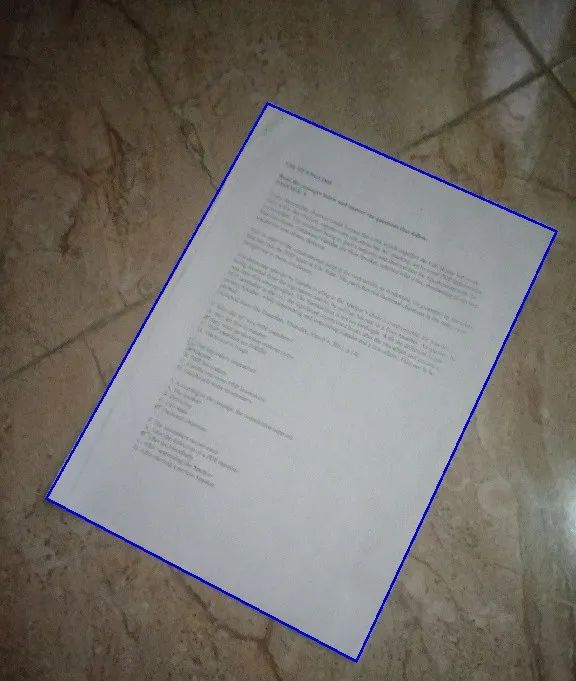
有了坐标,下一步就是画轮廓,很简单。
# Draw the found contour.
cv2.drawContours(image,[paper_outline],-1,(225,0,0),2)
cv2.imshow("Found outline", image)
cv2.waitKey(0)
你心中的问题是,我们完成了吗?
好吧,你可能会说是的,因为你在图像周围设置了很好的轮廓。答案是否定的,为了获得最佳扫描形式的图像,我们需要 90 度的图像视图,尤其是在倾斜的情况下。为此,我们将创建一个函数来处理此任务。
管道:排列点>>标记点>>从真实图像中挑选点
arrange_points 函数。
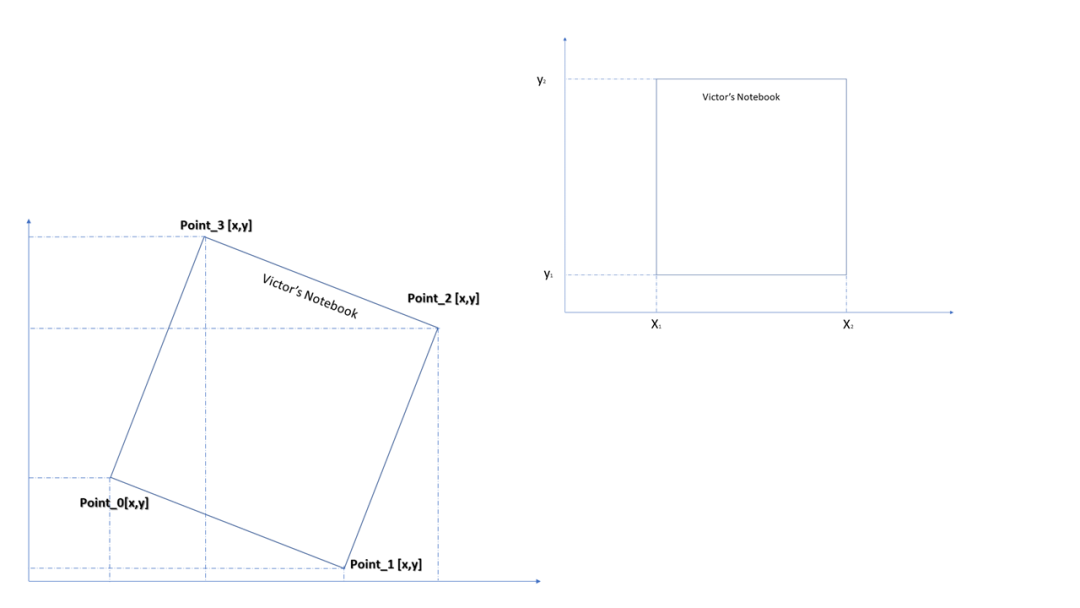
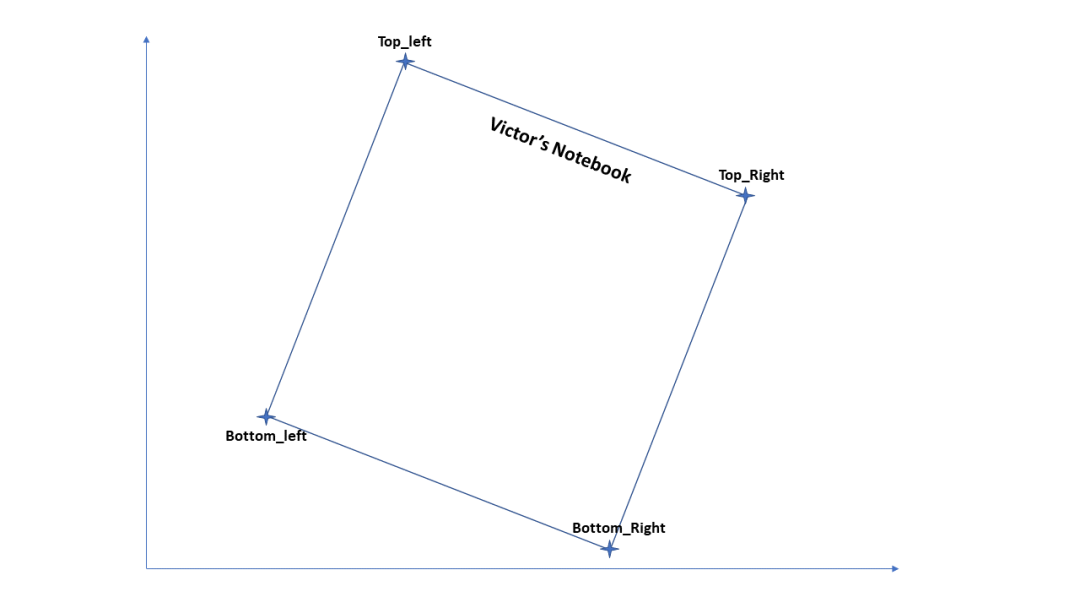
这样做的方法非常简单,归功于 Adrian Rosebrock(博士)。这个函数背后的直觉是我们获取文档四个边缘的坐标,并将其安排到我们认为它应该在的位置,我花了一些时间给出描述的图形表示。
点坐标的和
1)从上图中我们可以看出,点坐标(X,Y)的和最大的是在右上角。
2)最小的点总和是左下点。
点坐标的差
3)点坐标的差的最大值是左上角
4)点坐标的差的最小值是左下角。
代码。
该函数接受参数points,接下来,我初始化一个 NumPy 数组来表示矩形,该数组是一个 4 x 2 矩阵,因为我们有 4 个点和 2 个坐标(X,Y)。
最后,如上所述,我在矩形的点中注册(点的和以及点的差)。最后,我正确地返回了 Rectangle 的坐标。
def arrange_points(points):
# initialize a list of co-ordinates that will be ordered
# first entry is top-left point, second entry is top-right
# third entry is bottom-right, forth/last point is the bottom left point.
rectangle = np.zeros((4,2), dtype = "float32")
# bottom left point should be the smallest sum
# the top-right point will have the largest sum of point.
sum_points= points.sum(axis =1)
rectangle[0] = points[np.argmin(sum_points)]
rectangle[2] = points[np.argmax(sum_points)]
#bottom right will have the smallest difference
#top left will have the largest difference.
diff_points = np.diff(points, axis=1)
rectangle[1] = points[np.argmin(diff_points)]
rectangle[3] = points[np.argmax(diff_points)]
# return order of co-ordinates.
return rectangle
设置四个点。
这个功能很简单,这里的想法当然是拉直纸张,只提取需要的区域。在这里,输入是 1) 图像本身和点或坐标。首先,我们使用我们创建的第一个函数“arrange_points”来排列函数的点。接下来,我相应地分配了点,因为我之前已经安排了点并且也很好地命名了它们。
计算。
对于计算,只需两点之间的距离即可找到每边的长度。有了这个,我们能够在对的位置上防止错误地调整图像。顾名思义,目的地是图像的新视图。其中 [0,0] 表示左上角。接下来,[Max-width - 1,0] 表示右上角,我们还有 [maxwidth -1, maxheight-1] 表示底部右上角,最后是左下角 [0, max-height -1]。
转换矩阵
动作完成,工作结束,我们需要完成的是使用 cv2.getPerspectiveTransform() 的变换矩阵,它接受点的矩形和目的地。现在我们有了矩阵,我们使用 cv2.warpPerspective() 应用它,它获取你提供给函数的图像、变换矩阵,最后是建议扫描的(宽度和长度)。全部完成,返回转换后的图像
# set four points.
def set_four_points(image, points):
# obtain order of points and unpack.
rectangle = arrange_points(points)
(top_left,top_right,bottom_right,bottom_left) = rectangle
# let's compute width of the rectangle.
# using formular for distance between two points
left_height = np.sqrt(((top_left[0]-bottom_left[0])**2) + ((top_left[1]-bottom_left[1])**2))
right_height = np.sqrt(((top_right[0]-bottom_right[0])**2) + ((top_right[1]-bottom_right[1])**2))
top_width = np.sqrt(((top_right[0]-top_left[0])**2) + ((top_right[1]-top_left[1])**2))
bottom_width = np.sqrt(((bottom_right[0]-bottom_left[0])**2) + ((bottom_right[1]-bottom_left[1])**2))
maxheight = max(int(left_height), int(right_height))
maxwidth = max(int(top_width), int(bottom_width))
destination = np.array([
[0,0],
[maxwidth -1,0],
[maxwidth -1, maxheight-1],
[0, maxheight - 1]], dtype = "float32")
matrix = cv2.getPerspectiveTransform(rectangle, destination)
warped = cv2.warpPerspective(image, matrix, (maxwidth,maxheight))
return warped
应用函数
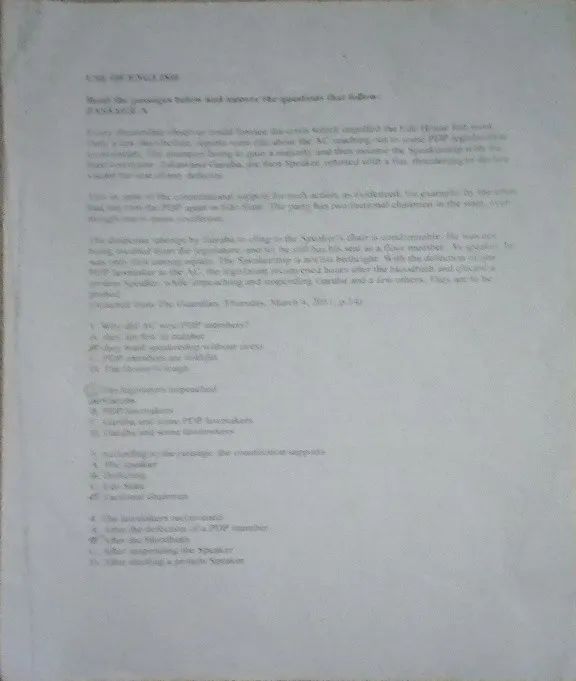
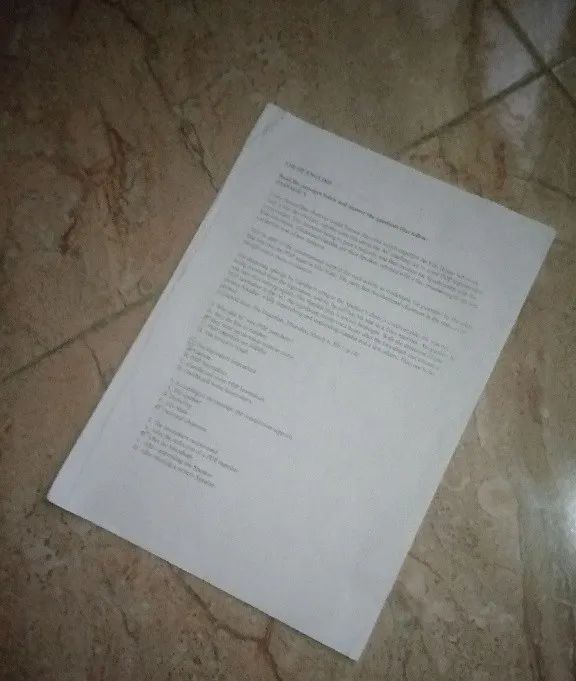
我们已经创建了函数,因此我们将其应用于最初保存的原始图像。第二个输入是论文的大纲。我通过删除我在开始时所做的比例缩放,将纸张轮廓重新调整回原来的大小。要获得图像的黑白感觉,需要使用 Threshold local,但当然,如果你想要对图像进行彩色扫描,则根本不需要它。最后,我调整大小并显示。
warped = set_four_points(orig, paper_outline.reshape(4,2)*(1/ratio))
#warped = cv2.cvtColor(warped, cv2.COLOR_BGR2GRAY)
#threshold = threshold_local(warped, 11, offset=10, method="gaussian")
#warped = (warped > threshold).astype("uint8") * 255
#show the original and scanned images
print("Image Reset in progress")
cv2.imshow("Original", cv2.resize(orig,(width, height)))
cv2.imshow("Scanned",cv2.resize(warped,(width, height)))
cv2.waitKey(0)
干得好!!,你刚刚创建了自己的扫描仪应用程序。
原文标题 : 构建文档扫描仪
