一文了解CNN可视化技术总结之卷积核可视化
导言: 上篇文章我们介绍了特征图可视化方法,对于特征图可视化的方法(或者说原理)比较容易理解,即把feature map从特征空间通过反卷积网络映射回像素空间。 那卷积核怎样可视化呢
导言:
上篇文章我们介绍了特征图可视化方法,对于特征图可视化的方法(或者说原理)比较容易理解,即把feature map从特征空间通过反卷积网络映射回像素空间。
那卷积核怎样可视化呢,基于什么原理来可视化?卷积核的尺寸一般只有3x3, 5x5大小,如何可视化?本文将介绍这个两个内容。
欢迎关注公众号 CV技术指南 ,专注于计算机视觉的技术总结、最新技术跟踪、经典论文解读。
卷积核可视化的原理
卷积核,在网络中起到将图像从像素空间映射到特征空间的作用,可认为是一个映射函数,像素空间中的值经过卷积核后得到响应值,在特征提取网络中,基本都是使用最大池化来选择最大响应值进入下一层继续卷积,其余响应值低的都进入待定。也就是说,我们认定只有响应值大的才会对最终的识别任务起作用。
根据这个思路,给定一个已经训练好的网络,现在想要可视化某一层的某一个卷积核,我们随机初始化生成一张图(指的是对像素值随机取值,不是数据集中随机选一张图),然后经过前向传播到该层,我们希望这个随机生成的图在经过这一层卷积核时,它的响应值能尽可能的大,换句话说,响应值比较大的图像是这个卷积核比较认可的,是与识别任务更相关的。然后不断调整图像像素值,直到响应值足够大,我们就可以认为此时的图像就是这个卷积核所认可的,从而达到可视化该卷积核的目的。
理解了它的原理后,它的实现方法就比较简单了,设计一个损失函数,即以经过该层卷积核后的响应值为目标函数,使用梯度上升,更新像素值,使响应值最大。
实现代码
Setup
import numpy as np import tensorflow as tf from tensorflow import keras # The dimensions of our input image img_width = 180 img_height = 180 # Our target layer: we will visualize the filters from this layer. # See `model.summary()` for list of layer names, if you want to change this. layer_name = "conv3_block4_out"
Build a feature extraction model
# Build a ResNet50V2 model loaded with pre-trained ImageNet weights model = keras.applications.ResNet50V2(weights="imagenet", include_top=False) # Set up a model that returns the activation values for our target layerlayer = model.get_layer(name=layer_name) feature_extractor = keras.Model(inputs=model.inputs, outputs=layer.output)
Set up the gradient ascent process
loss函数取最大化指定卷积核的响应值的平均值,为了避免边界的影响,边界的响应值不计。
def compute_loss(input_image, filter_index): activation = feature_extractor(input_image) # We avoid border artifacts by only involving non-border pixels in the loss. filter_activation = activation[:, 2:-2, 2:-2, filter_index] return tf.reduce_mean(filter_activation)
@tf.function def gradient_ascent_step(img, filter_index, learning_rate): with tf.GradientTape() as tape: tape.watch(img) loss = compute_loss(img, filter_index) # Compute gradients. grads = tape.gradient(loss, img) # Normalize gradients. grads = tf.math.l2_normalize(grads) img += learning_rate * grads return loss, img
Set up the end-to-end filter visualization loop
def initialize_image(): # We start from a gray image with some random noise img = tf.random.uniform((1, img_width, img_height, 3)) # ResNet50V2 expects inputs in the range [-1, +1]. # Here we scale our random inputs to [-0.125, +0.125] return (img - 0.5) * 0.25 def visualize_filter(filter_index): # We run gradient ascent for 20 steps iterations = 30 learning_rate = 10.0 img = initialize_image() for iteration in range(iterations): loss, img = gradient_ascent_step(img, filter_index, learning_rate) # Decode the resulting input image img = deprocess_image(img[0].numpy()) return loss, img def deprocess_image(img): # Normalize array: center on 0., ensure variance is 0.15 img -= img.mean() img /= img.std() + 1e-5 img *= 0.15 # Center crop img = img[25:-25, 25:-25, :] # Clip to [0, 1] img += 0.5 img = np.clip(img, 0, 1) # Convert to RGB array img *= 255 img = np.clip(img, 0, 255).astype("uint8") return img可视化效果图
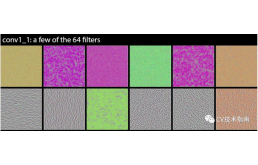
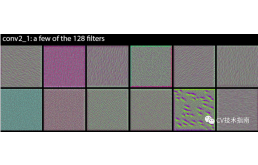
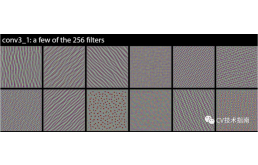
可视化vgg16卷积核
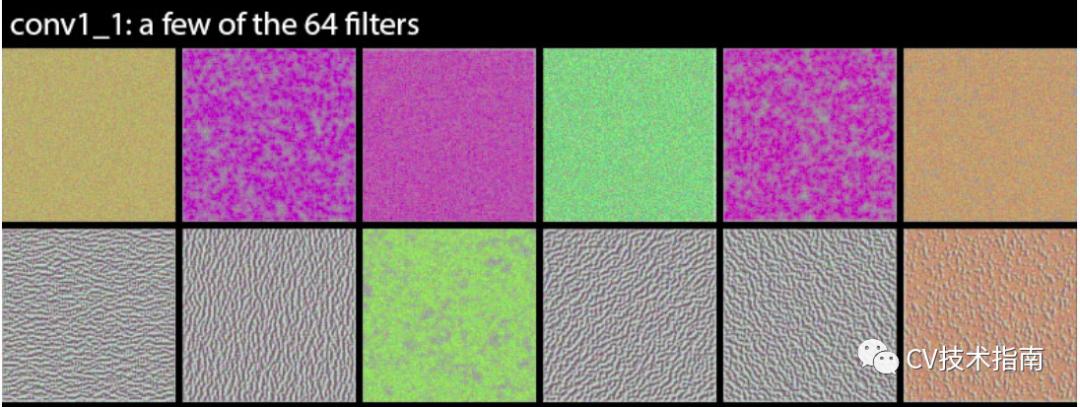
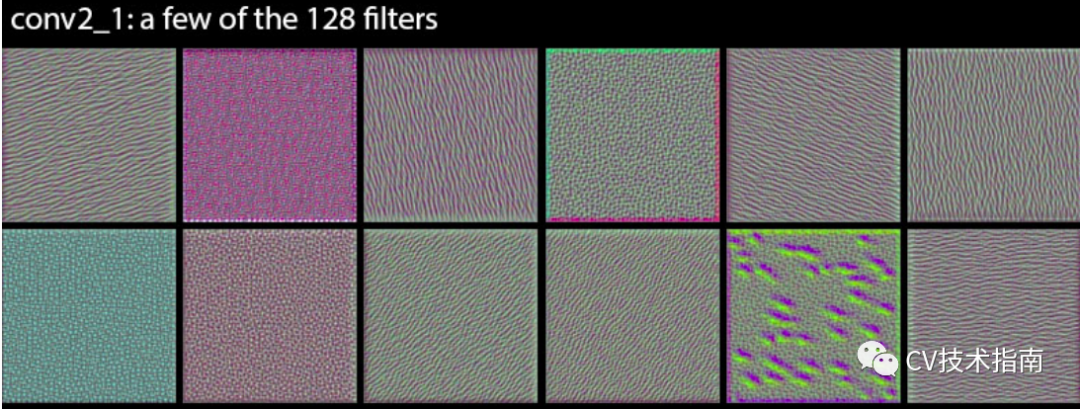
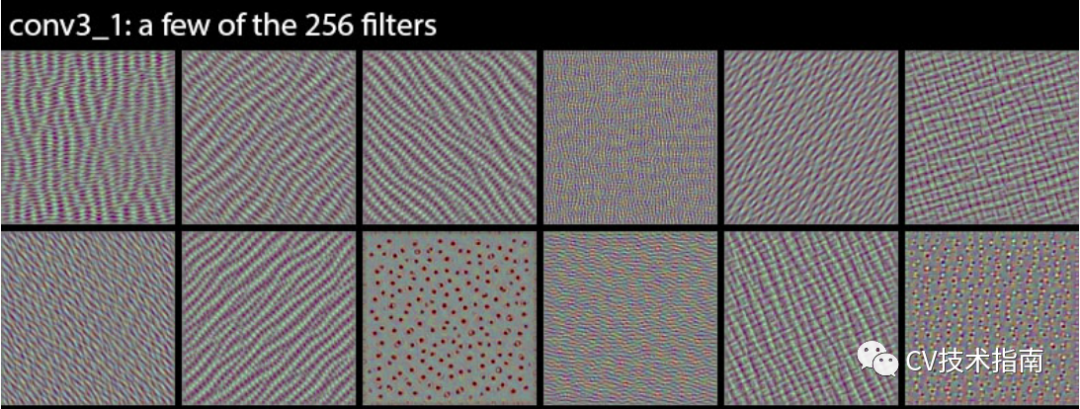
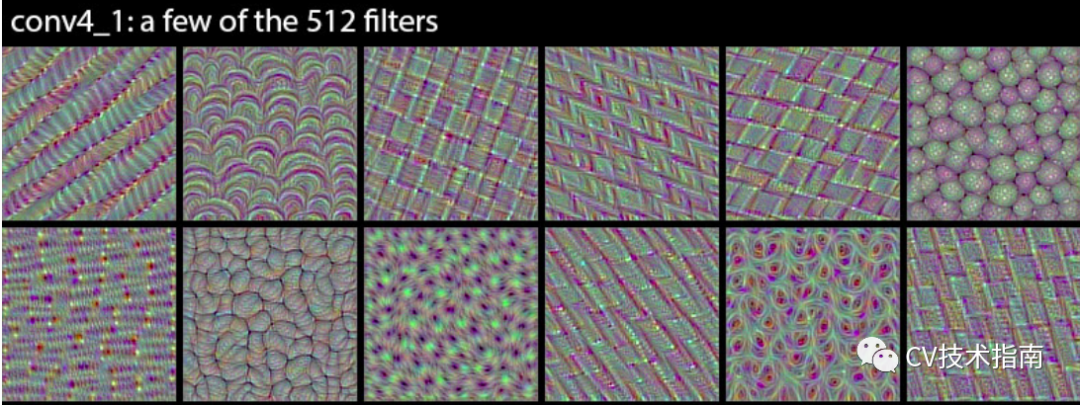
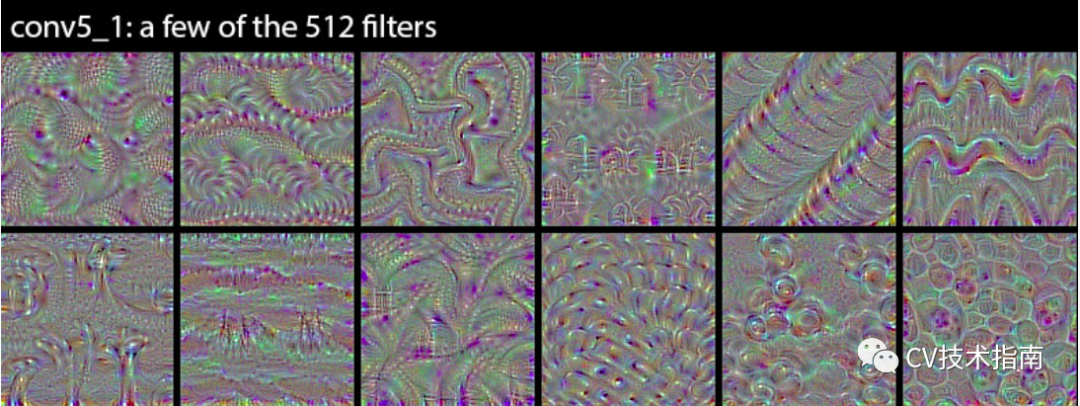
总结:本节内容介绍了一种可视化卷积核的方法,即通过生成指定卷积核响应值尽可能大的图像来达到可视化卷积核的目的,使用的方法是梯度上升。
在不少论文的末尾都有可视化卷积核来分析提出的模型,该方法值得了解。
下一篇我们将介绍最常用的可视化方法--CAM系列,其作用是给出图像中对类别识别起作用的区域的热力图。

本文来源于公众号 CV技术指南 的技术总结系列。
欢迎关注公众号 CV技术指南 ,专注于计算机视觉的技术总结、最新技术跟踪、经典论文解读。
